- Published on
Serverless Dollar-cost Averaging for the Crypto Markets with Node.js, AWS Lambda, and the GDAX API
- Authors
- Name
- Adam Stevenson
- @adamjstevenson


What we're doing here
- Build an AWS Lambda function in Node.js.
- Hook into the APIs that GDAX provides to buy $10 worth of Ethereum every day for 100 days.
- Use Twilio to send an SMS to tell us about it.
Getting started
- Node.js and NPM should be installed on your local machine.
- To run this in the cloud with Lambda, you'll need an AWS account.
- To buy ETH, you need a GDAX developer account and the keys from that account. I strongly recommend using their sandbox (linked) to test and get everything working, then you can just swap the keys for the live account once you're ready.
- You also need a Twilio account and phone number to send SMS messages. Twilio is awesome and very inexpensive, and you can even try it for free.
Preamble: Why dollar-cost averaging?
Crypto markets are incredibly volatile and dollar-cost averaging is a simple investment strategy that essentially aims to reduce the impact of volatility on investments by spreading a purchase over time in equal increments. If you wanted to buy $1k worth of Bitcoin as a (very speculative) investment (sure... "investment"), then you might decide to buy $100 every 10 days for 100 days instead of purchasing all of it at once.
But why not buy it all at once? Let's look at a simple example.
This chart illustrates the price of BTC in USD over the course of a 100 day period. At day 0, the price for 1 BTC is $15,000 USD. 100 days later, the value of that Bitcoin is $10,000 USD. If you'd invested your entire sum at once, your $1k would now be worth about $660. You got bitcoined! 😩
If you'd instead divided that purchase evenly across those 100 days, buying $10 each day, you'd actually have a positive return on your investment because you purchased the majority of your BTC when the price was lower than it is today.
This is kinda stupid because it's just one possible outcome, right? Instead, maybe this graph is inverted or BTC continues to rise incrementally over the course of those 100 days. In that case, you'd actually be better off purchasing all of the BTC at day 0. Still, in this scenario if you'd used the same dollar-cost averaging method your investment would still appreciate, albeit not by as much. This approach of spreading the purchase over time means that you're unlikely to experience as much volatility in either direction.
Disclaimer again: There's valid criticism of dollar-cost averaging. But I'd also sincerely have trouble guessing if the price of any given coin will be 10x more valuable or 10x less valuable in 100 days from now. So this strategy seems reasonable. (Plus I'm just looking for an excuse to play with some APIs here. Don't @ me.)
Why Lambda?
If you've never worked with Lambda, it's really fun and quite powerful. Though "serverless" seems buzzy, there's a lot of value particularly for something just like this where you just want a simple stateless sevice to interact with an API or two. If you're setting up a webhook handler to do something like catch events and push notifications or synchronize data, Lambda is an excellent solution.
GCP also provides their own version, Cloud Functions. This would also be a viable path but from what I can tell quickly may require spinning up an App Engine instance to handle scheduling.
I won't detail the process of creating the app and using NPM to install all of the local packages here, but there's lots of detail in the Getting Started section in the NPM docs if you want to create this from scratch. Otherwise, head over to the Github repo and follow the instructions there to clone this repository.
Creating the Lambda function
I'll break down each step of the function quickly, but you can find the finished project in the Github repo linked above to see it all together.
This example uses the dotenv librar to access environment variables from our .env file. We'll also set up a GDAX and Twilio client, loading in the API keys as env variables. At this point your app.js looks like this:
// Use dotenv to load environment variables
require('dotenv').config()

// Load Twilio and GDAX
const twilio = require('twilio')
const gdax = require('gdax')

// Set up GDAX for buying crypto
const gdaxClient = new gdax.AuthenticatedClient(
  process.env.GDAX_API_KEY,
  process.env.GDAX_SECRET,
  process.env.GDAX_PASSPHRASE,
  process.env.GDAX_API_ENDPOINT
)

// Set up Twilio client for sending SMS
const twilioClient = twilio(process.env.TWILIO_ACCOUNT_SID, process.env.TWILIO_AUTH_TOKEN)

// Add a handler next
Now we're ready to create a Lambda function handler. This is just some Node.js code that will run when the function is called by Lambda. Here's the outline of the handler in app.js, along with the actions it'll take:
// ... the previous initialization code above

// Declare Lambda handler
const handler = (event, context, callback) => {
  // Check the price of ETH to determine how much to buy
  // Place a buy order
  // Send an SMS notification
}
The first request is made to the GDAX product ticker endpoint to get the current trade price for ETH.
// Check the price of ETH to determine how much to buy
gdaxClient
  .getProductTicker('ETH-USD')
  .then((data) => {
    // Determine what $10 of ETH costs
    const price = 10 / data.price
    // Return smallest unit available for purchase
    const orderSize = price.toString().substr(0, 10)

    // Place a buy order
    buyOrder(orderSize, data.price)
  })
  .catch((err) => {
    // Dump the entire error and send failure notification
    console.error(err)
    sendSMS(
      'Unable to get ETH ticker price. Response from GDAX: ' +
        err.response.statusMessage +
        ', ' +
        err.data.message
    )
  })
If it fails, an SMS is sent using the sendSMS function. This isn't strictly necessary since the error is logged and available in Cloudwatch Logs, but hey... it's nice to get a text! Here's that function:
// Send SMS notification
function sendSMS(message) {
  twilioClient.messages
    .create({
      to: process.env.MY_NUMBER,
      from: process.env.TWILIO_SMS_NUMBER,
      body: message,
    })
    .then((msg) => {
      // Log the message from Twilio
      console.log(msg)
    })
    .catch((err) => {
      console.error(err)
    })
    .done()
}
And finally, the really exciting part: a market buy order is placed for $10 worth of ETH using the GDAX Orders API. You could also create a limit order, but market orders are filled immediately at the best price whereas a limit order may not be executed at all.
// Place a buy order
function buyOrder(orderSize, currentPrice) {
const args = {
product_id: 'ETH-USD',
type: 'market',
side: 'buy',
size: orderSize,
}
gdaxClient
.buy(args)
.then((data) => {
// Send success notification
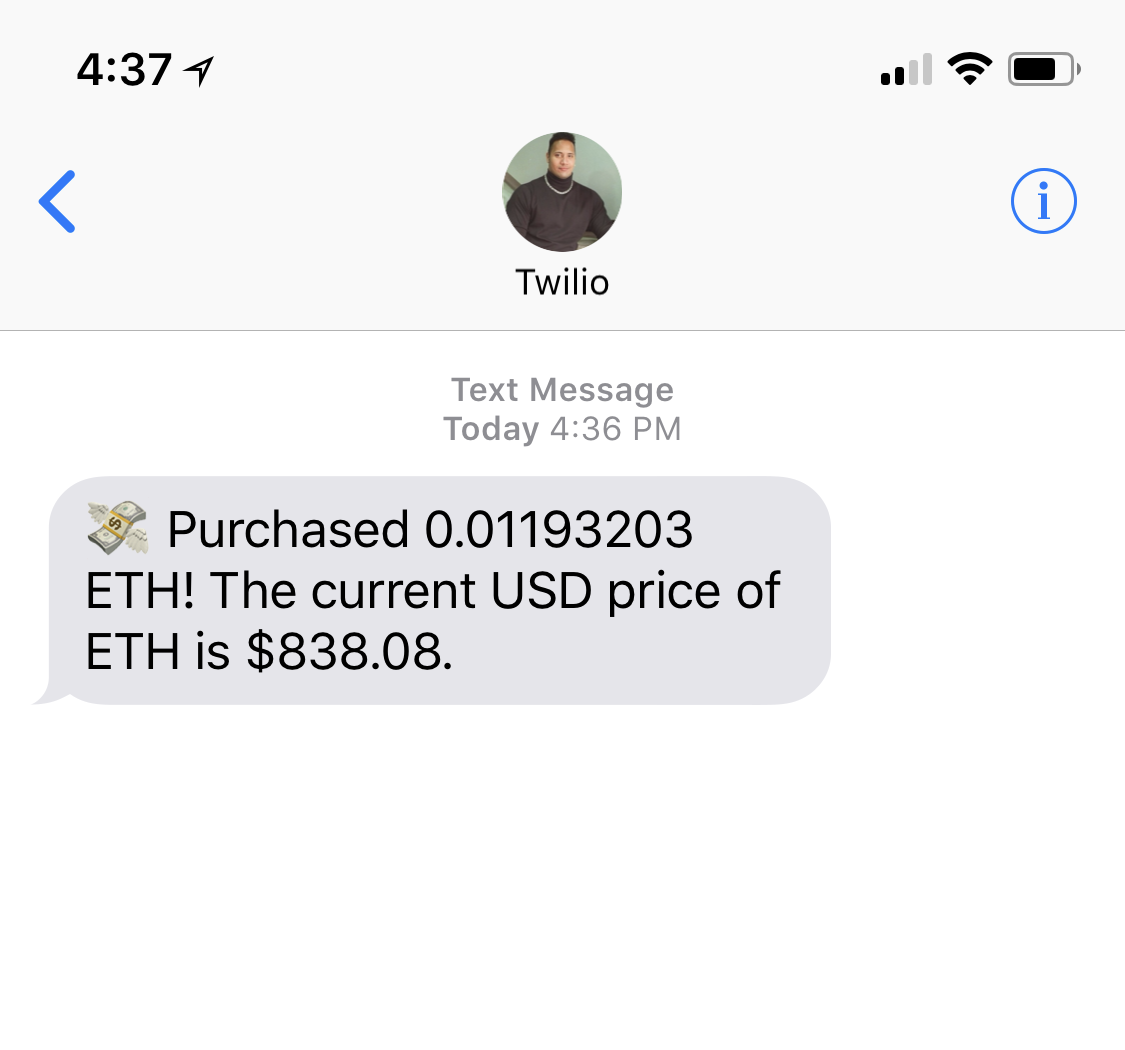
sendSMS(
'💸 Purchased ' +
orderSize +
' ETH! The current USD price of ETH is $' +
currentPrice.substr(0, 6) +
'.'
)
})
.catch((err) => {
// Dump the entire error and send failure notification
console.error(err)
sendSMS(
'Unable to place buy order for ETH. Response from GDAX: ' +
err.response.statusMessage +
', ' +
err.data.message
)
})
}
Here's what it all looks like when you're done.
As you can see in the snippet above, we'll use the same Twilio SMS function defined earlier, Twilio sends an SMS when the order is placed with the amount of ETH purchased and the current price. That's it!
Testing locally
Before deploying, you should test the function locally. First be sure that you've added your test keys as environment variables to your .env file. That'll look something like this:
TWILIO_ACCOUNT_SID=XXX
TWILIO_AUTH_TOKEN=XXX
TWILIO_SMS_NUMBER=+15555555555
MY_NUMBER=+15555555554

GDAX_PASSPHRASE=abc123
GDAX_API_KEY=bca321
GDAX_SECRET=something+something==
GDAX_API_ENDPOINT=https://api-public.sandbox.gdax.com
(Note that this example uses the sandbox API endpoint for GDAX.)
You can use SAM Local, a simple CLI that allows you to test Lambda functions before deploying them. In your app directory, install the tool with NPM and create an empty event payload to send to the function:
$ npm install --global lambda-local
$ echo {} > event.json
Lastly, execute the function:
$ lambda-local -l app.js -h handler -e event.json
If everything works, you'll get your text from Twilio. Neat!
Deploying on Lambda
At this point, the heavy lifting is done: you have a working Lambda function that talks to GDAX and Twilio, checking the price of ETH, making a purchase, and telling you about it. The last step is to stick this on AWS and set up CloudWatch. The purpose of CloudWatch is just to run this function on a schedule (so that you can buy ETH daily without doing anything to make the function run).
An easy way to create the function is to zip up the files you'll need and upload them directly. Start by creating a .zip of app.js, .env, package.json, package-lock.json, and the entire node_modules folder.
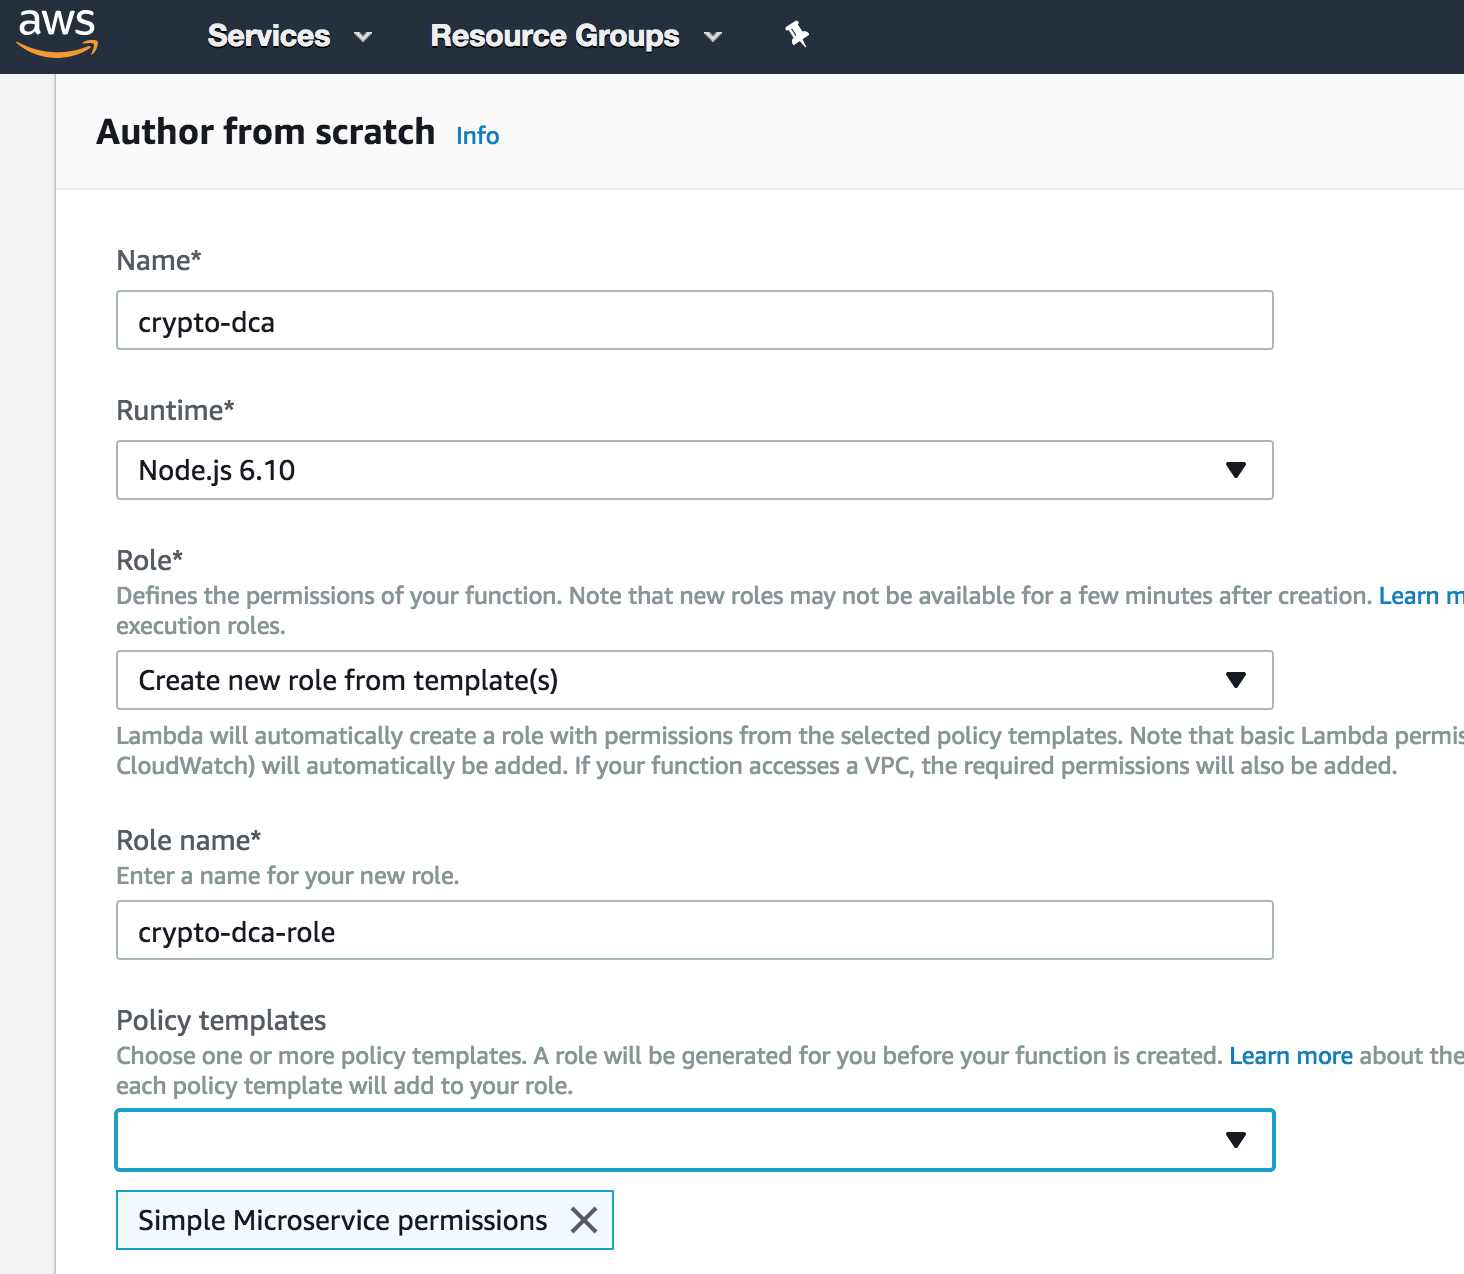
Next, log into AWS, visit the Lambda dashboard, and click the Create function button. Select the option to Author from scratch.
You can name the function and role whatever you like. Select the option to Create a new role from templates(s) and pick the Simple Microservice permissions template. Click the button to Create function.
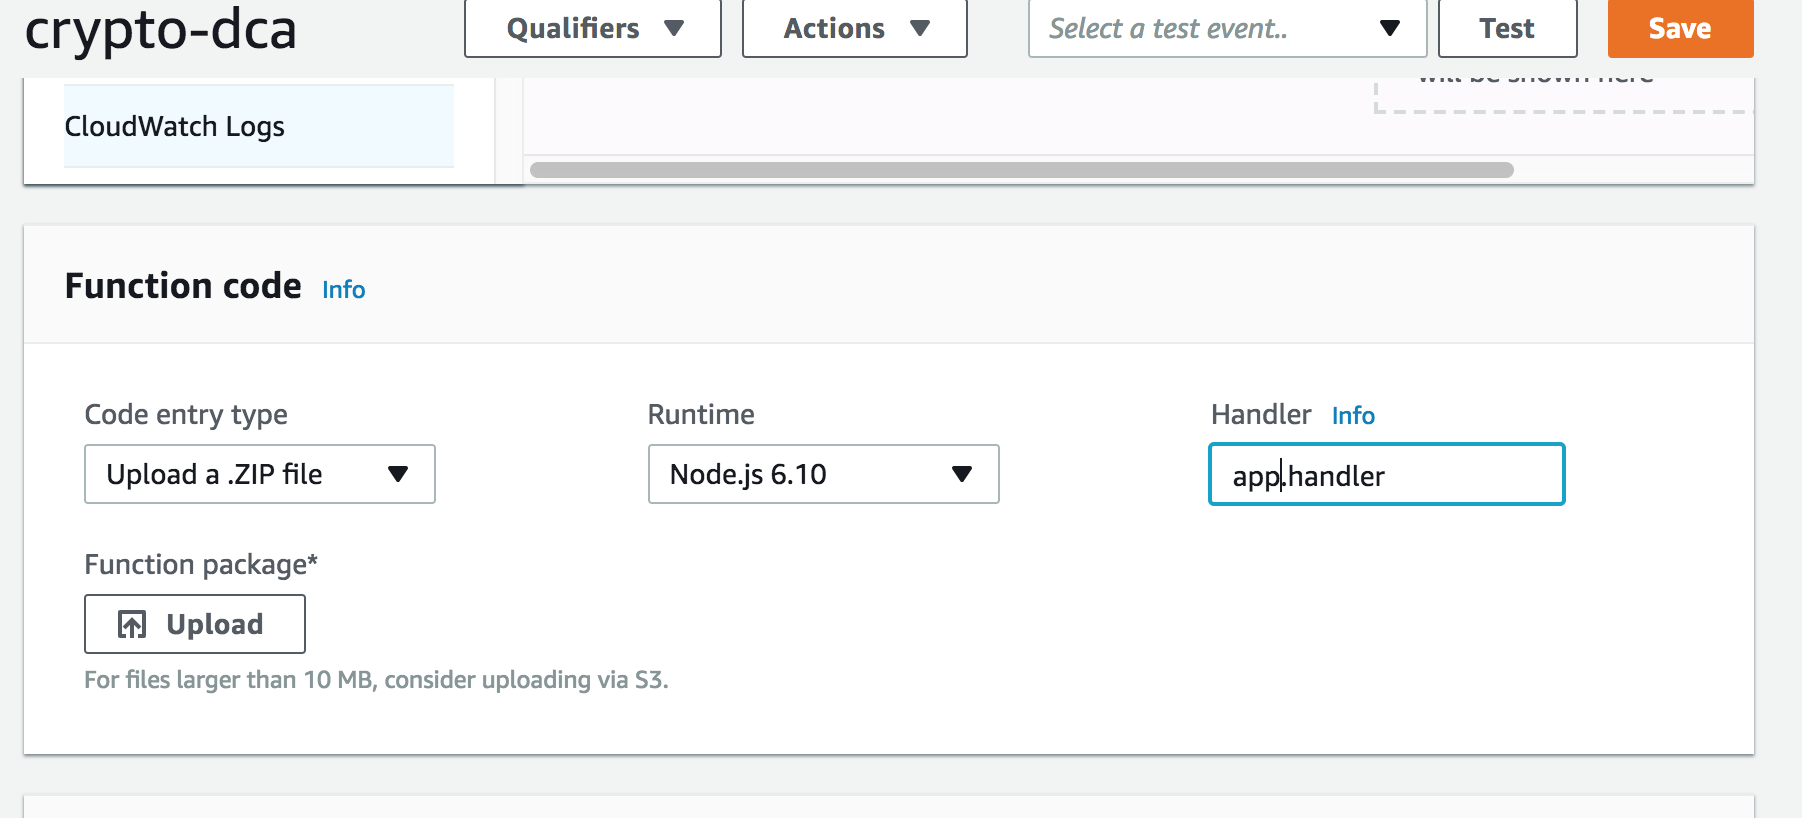
Once the function has been created, scroll down to the Function code section and change the select box Code entry type to Upload a .ZIP file. Enter app.handler in the Handler input field and click Upload to upload the file.
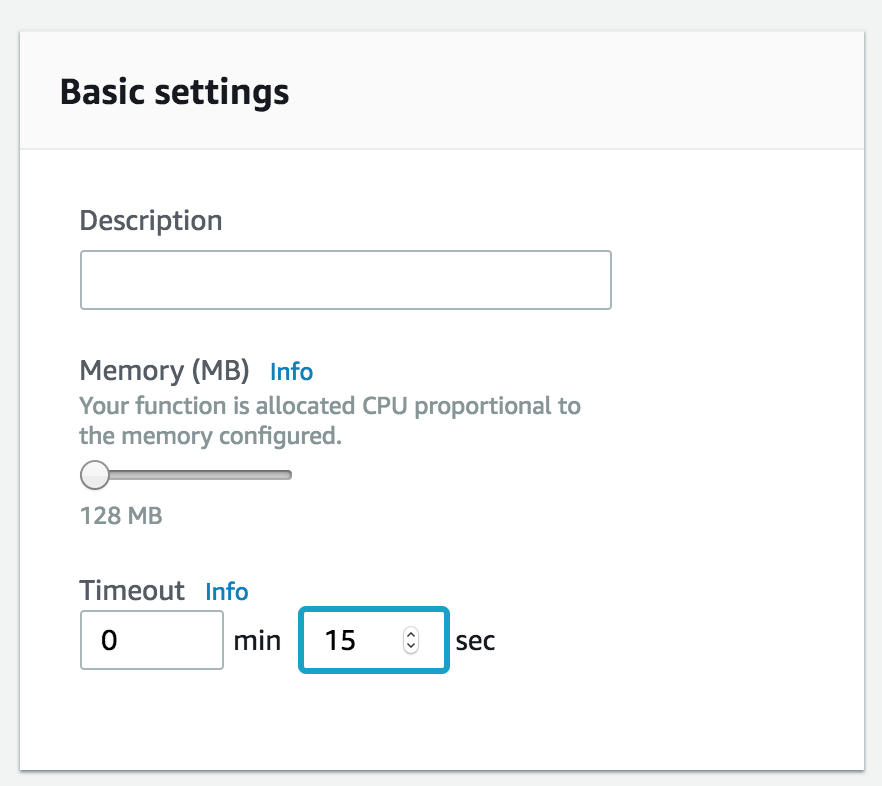
We also want to change the timeout value for the function to ensure it has time to run. Scroll down to the Basic settings area and set the timeout to 15 seconds.
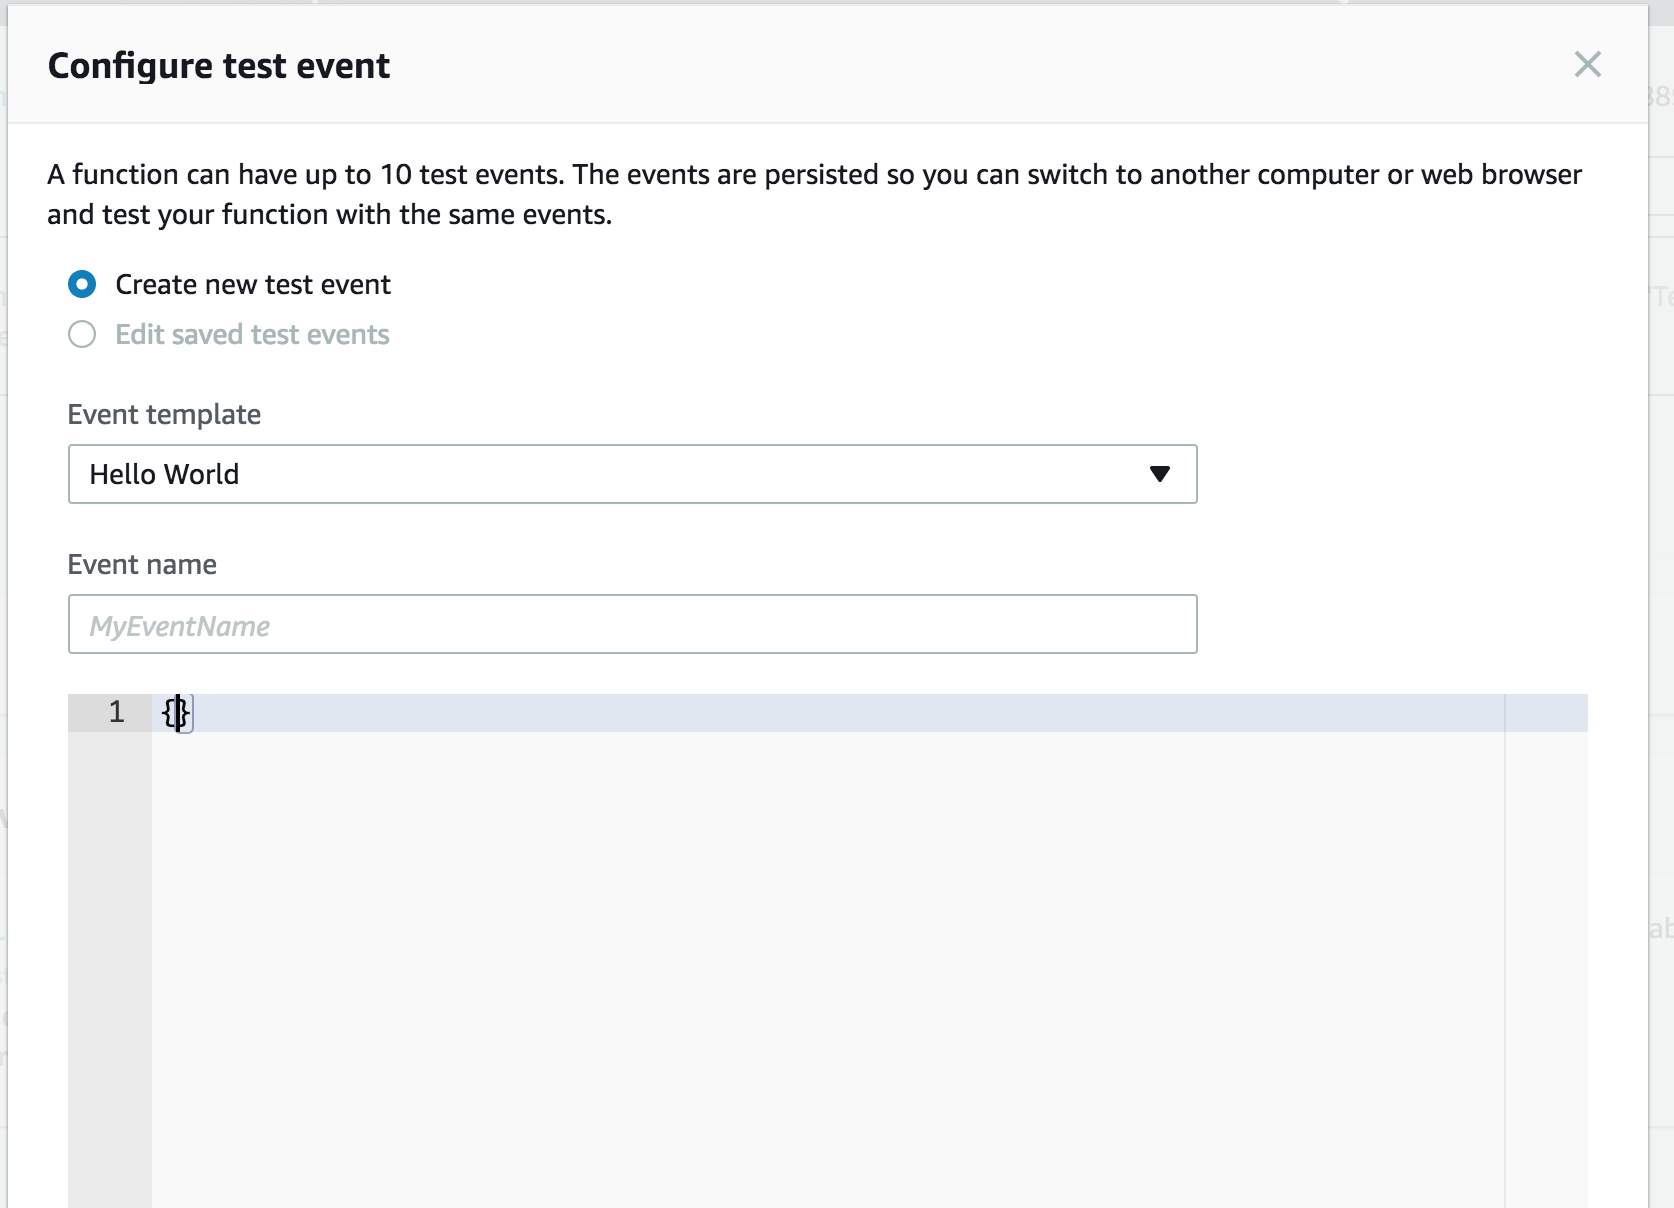
Click Save to finish up, then let's test this thing. Use the select list on the top of the page next to the Test button ad select Configure test events. Just add an empty hash and click Create.
Click the Test button to run the function; you should receive another SMS from Twilio. 😎
Scheduling the function with CloudWatch
We could ping this function every day on our own to make it run, but that's so 2000 and late. Instead, we'll use CloudWatch to schedule a simple job.
Click CloudWatch Events on the left side of the designer view, then click on the CloudWatch Events box that appears to reveal the Configure triggers form. Configure CloudWatch with the name, description and cron schedule you want to use. Be sure to click the checkbox to Enable the trigger.
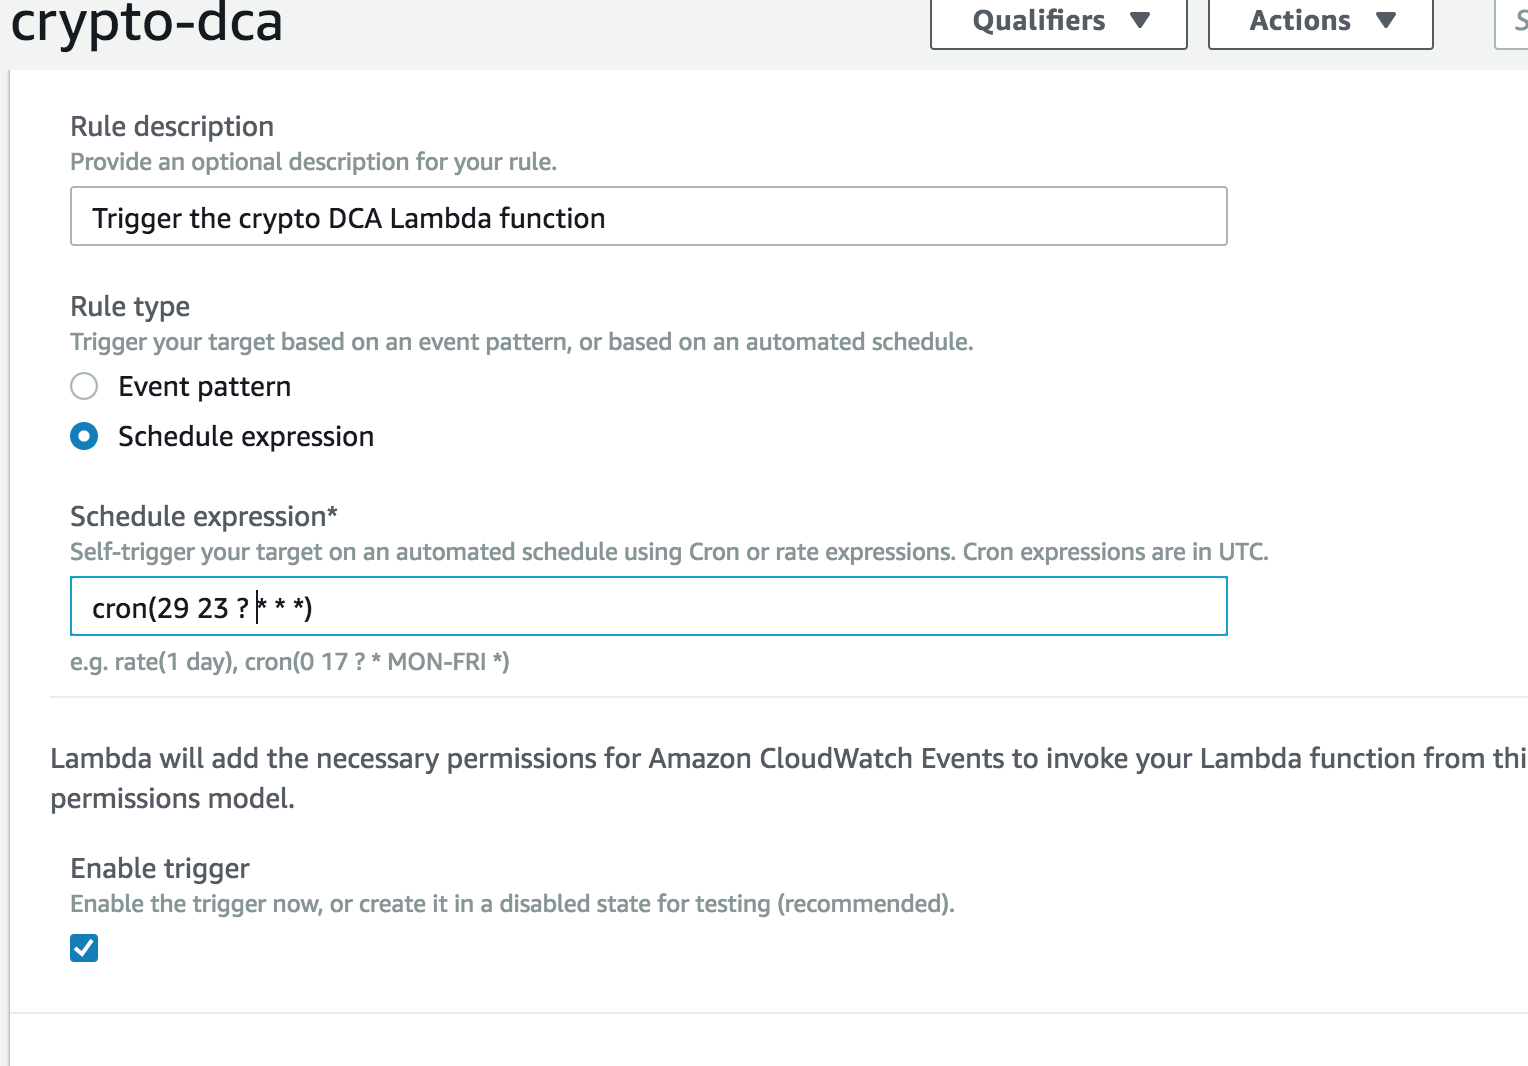
Click Add, then Save on the top of the screen again. At this point your serverless Lambda function is deployed, and CloudWatch will invoke the function at the schedule you chose.
Parting thoughts
This is a pretty basic example that purchases $10 worth of Ether every day, but there are a number of things I've not discussed which you should consider if you plan to use something like this in practice:
- This code might screw up somehow and cause you to lose all of your real money, I have no idea. I also make no warranty. For the love of god... be careful with this (and also don't @ me).
- This purchase will fail if the price of ETH is too high, because the minimum buy order may be more than $10. If you wanted to get really fancy, you could implement some logic to send an SMS to ask if you want to purchase .01 ETH for the current USD price or something.
- Keep all of your keys safe. If someone steals them, you could lose all of your real money (or cryptobucks).
- Yes, I know Coinbase is great and will also purchase $N worth of whatever coin on a schedule for you. But didn't you have a good time building this?